
- If you got a .mzp file, just drag and drop into a viewport.
If you got a .zip file, unzip and find a .mzp file. Then, drag and drop the .mzp file into a viewport. - Installer window will pop up.
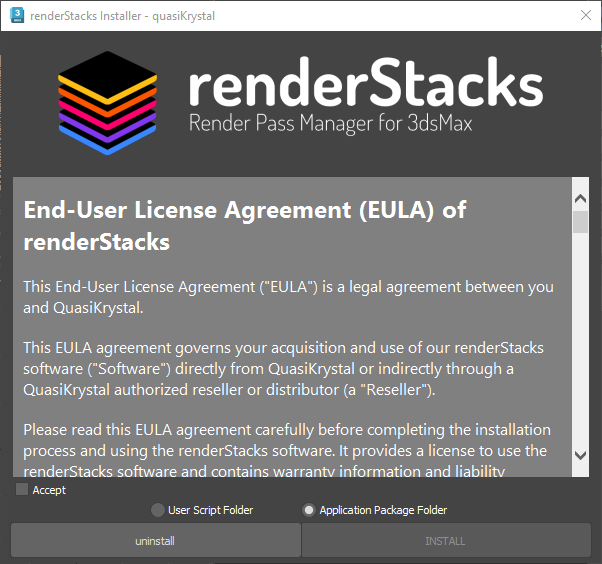
- Press “Accept”. Then, the “INSTALL” button will become active.
- Press INSTALL.
- You can make button, shortcut and etc from Customize Interface.
Look for “RenderStacks” category. Toolbar icons are included for renderStacks, rsPrvRender and rsRenamer.

Application Plugin Package
Since 4.38, renderStacks installs as an Application Plugin Package only. There is no longer a choice of install location, which keeps the process the same on every machine.
- By default it is installed to
C:\\\\ProgramData\\\\Autodesk\\\\ApplicationPlugins. Alternatively, you can specify your own directory by setting the ADSK_APPLICATION_PLUGINS environment variable. For more details, refer to this post. - One install covers every version of 3ds Max on the machine. The old User Scripts folder method had to be repeated for each version.
- If you previously installed into the User Scripts folder, the installer will handle the existing files. It is still worth double-checking that all old files were properly cleaned up.